
This weekend a friend of mine asked my advice on setting up a VPN for his business to enable remote workers to connect and access the office’s file server and other internally hosted data.
The requirements really consisted of a using Windows Server (ease of management) with the ability for MacOSX laptops to connect over a VPN to it.
A couple of years ago, I had a similar setup that I used to connect to my home network using my own MacBook Pro but this time I thought I’d document it to help others.
So, for this setup we’ll use the following software to set-up this solution up:
Server (running Windows Server 2012 R2)
Client (running MacOSX 10.11 El Capitan)
- TunnelBlick (Free OpenVPN client software for MacOSX)
At the time of writing, the following latest stable versions and the versions that are installed as part of this guide are as follows:
- OpenVPN Server 2.3.10 (openvpn-install-2.3.10-I601-x86_64.exe)
- TunnelBlick 3.5.5 (Tunnelblick_3.5.5_build_4270.4461.dmg)
You can download both of these versions from my site if you wish!
Once installed, this will enable the client machine (the MacOSX laptop) to connect to the VPN using a split tunnel configuration; using a split tunnel will ensure that only traffic that is destined for the VPN network will be routed over the VPN, your internet connection and other traffic will be routed locally of which will increase speed and performance – Again, this was another requirement, before doing this yourself please understand the security implications of such a setup.
Installing the OpenVPN Server software
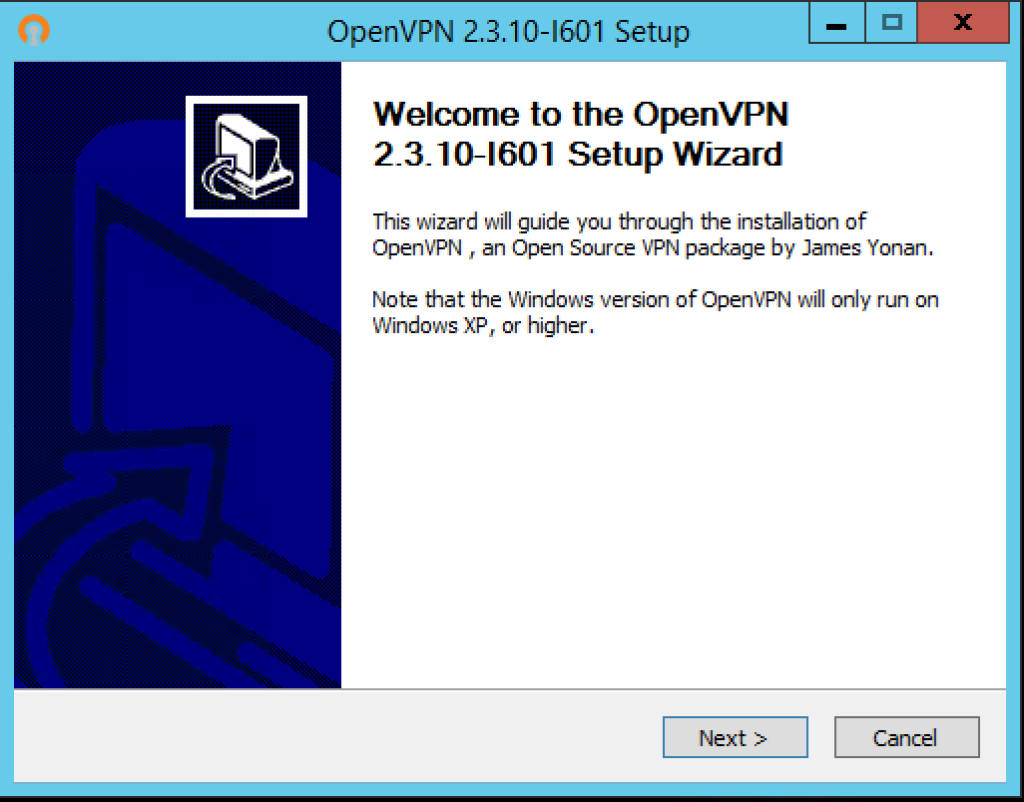
We will now log on to our Windows Server 2012 R2 desktop and then run the OpenVPN Server installer (openvpn-install-2.3.10-I601-x86_64.exe) installer, the following screen will appear, click Next to start the installation…
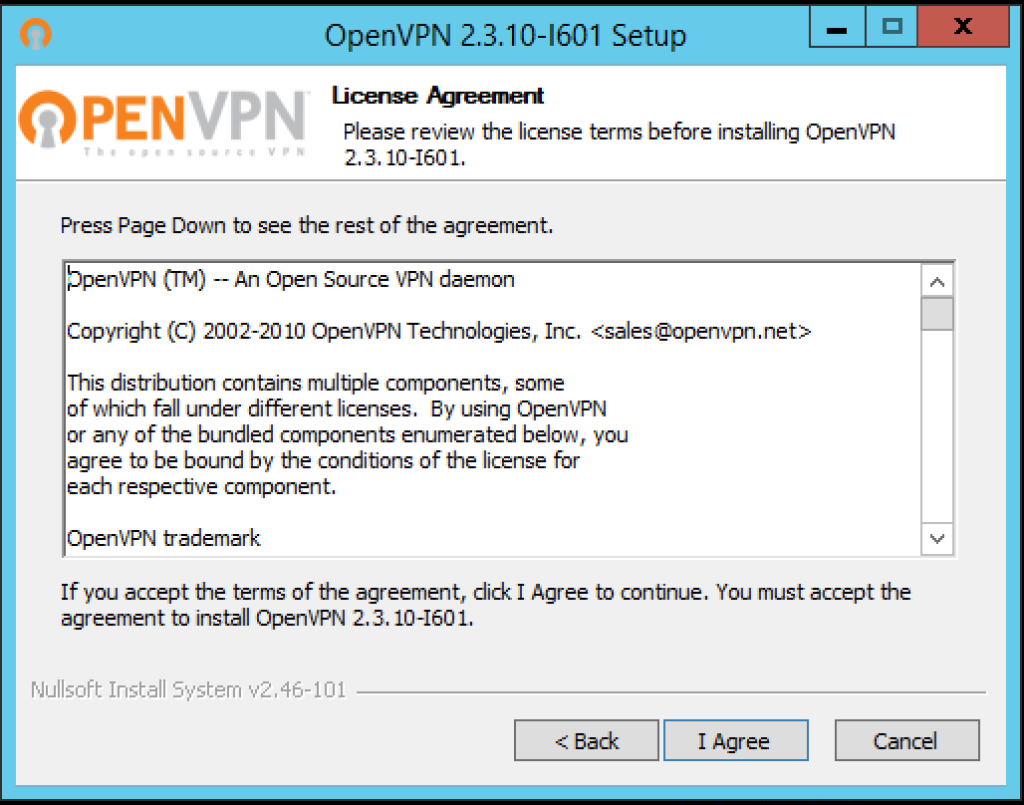
Next you will be presented with the License Agreement, read and click the I Agree button to continue…
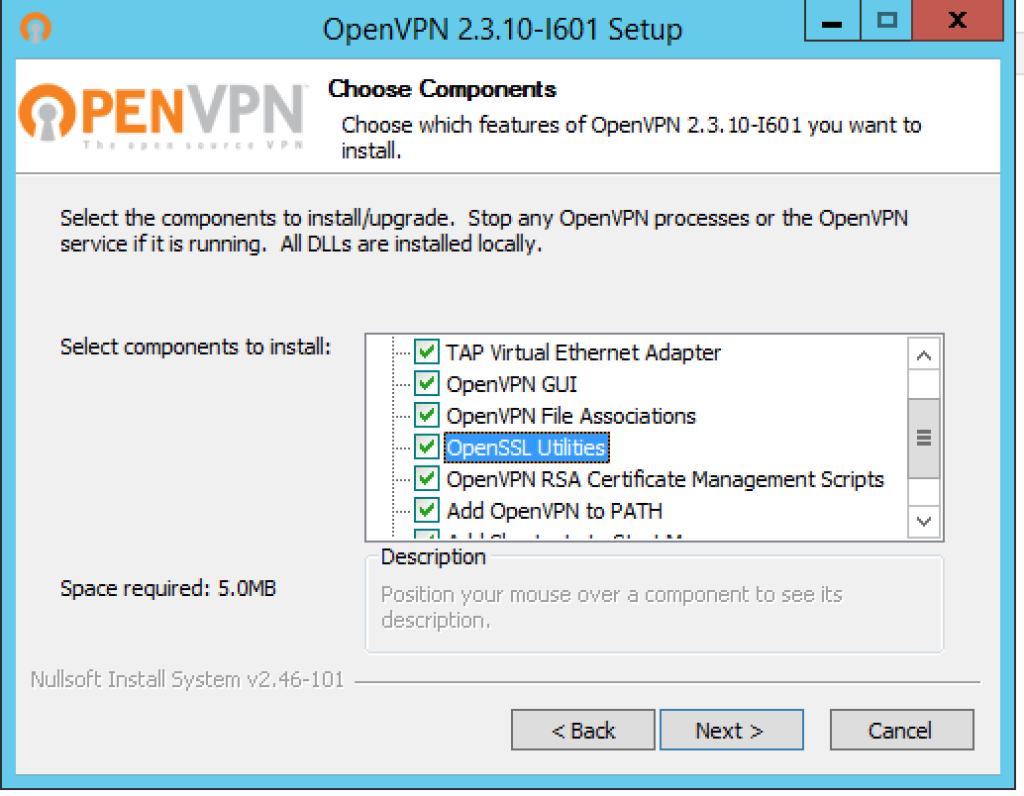
You’ll then be asked to choose which components to install, you will need to ensure that you select ALL components, this is very important otherwise you will not get Easy-RSA and other utilities that we will need, when you are happen then click Next…
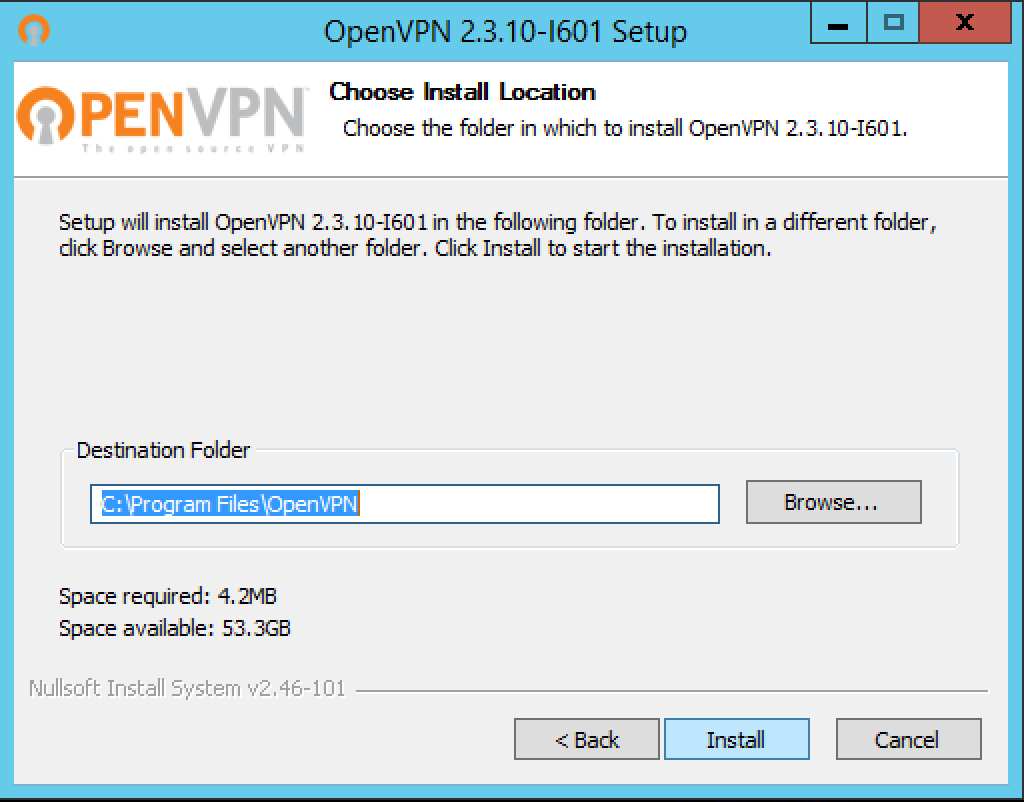
Choose where you want to install the software and where the configuration will be stored, I simply accepted the defaults and then click Install…
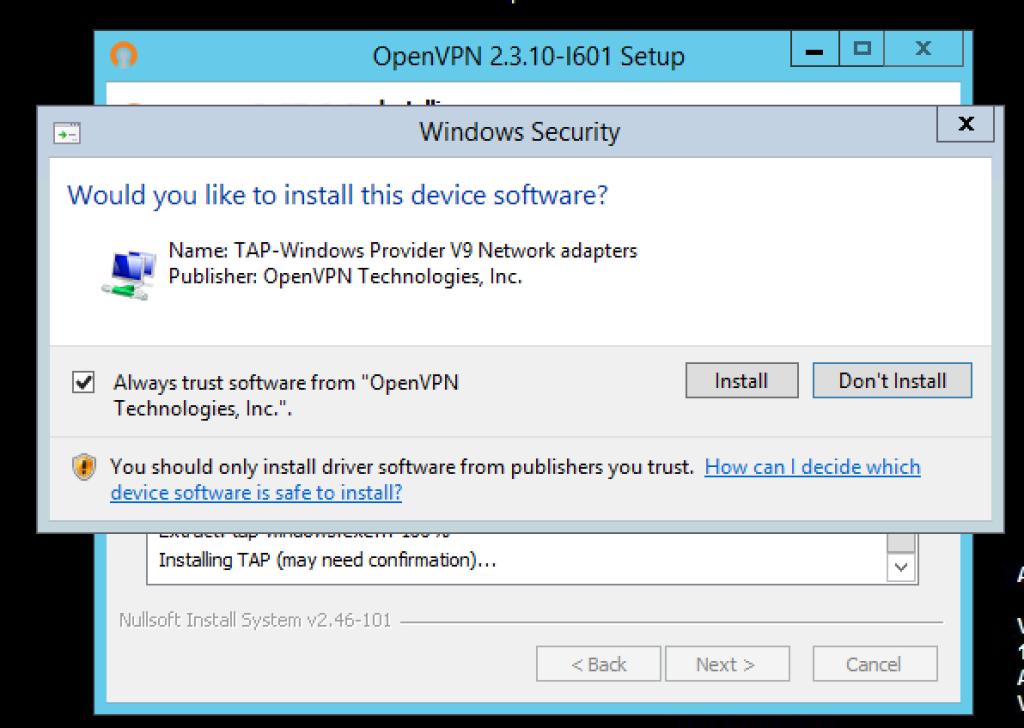
During the installation you will be prompted to install the virtual TAP NIC adapter, this is a virtual network device that is required by OpenVPN server, you will need to click Install here…
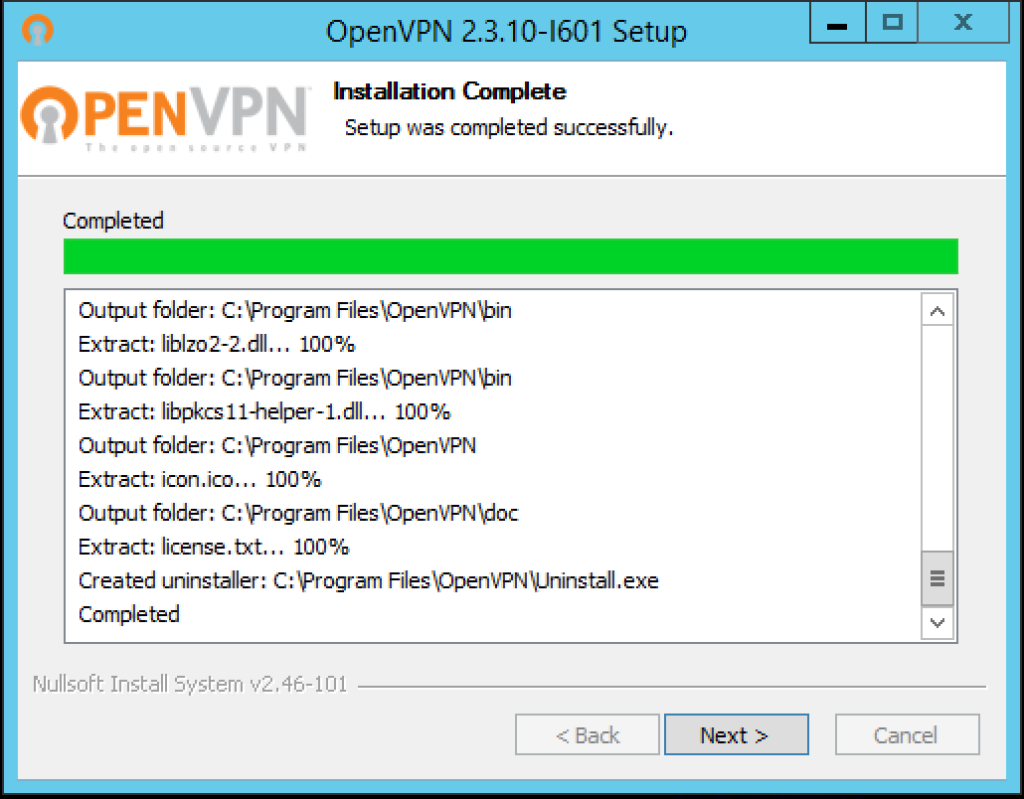
Once the installation is complete, you’ll then need to click Next…
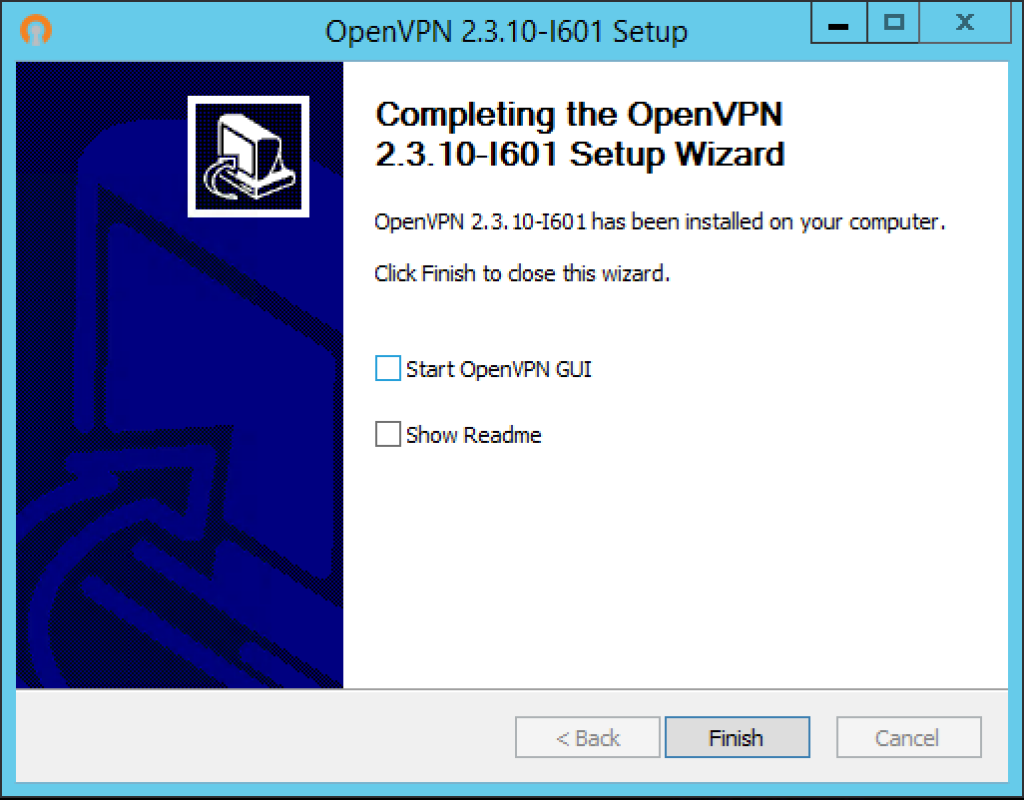
Installation is now complete, now click Finish and we’ll move on to configuring the server.
Configure easy-rsa
easy-rsa is a CLI utility to build and manage a PKI CA. In laymen’s terms, this means to create a root certificate authority, and request and sign certificates, including sub-CAs and certificate revokation lists (CRL).
If you are interested, the source code, further information on the utility and the issue tracker can be found on it’s GitHub project page.
Anyway, it’s get on and configure easy-rsa, open up Command Prompt and then type the following commands:
cd \
cd "C:\Program Files\OpenVPN\easy-rsa"
init-config.bat
Running init-config.bat script will generate a new vars.bat file in our easy-rsa directory, this file will contain our configuration. So now we need to open up the following directory using Windows Explorer:
C:\Program Files\OpenVPN\easy-rsa
Now, using Notepad (or another text editor) edit the batch file named vars.bat, we need to configure some variables…
Change the following settings (nearer the bottom of the file) to meet your requirements:
set KEY_COUNTRY=US
set KEY_PROVINCE=CA
set KEY_CITY=SanFrancisco
set KEY_ORG=OpenVPN
set KEY_EMAIL=mail@host.domain
set KEY_CN=changeme
set KEY_NAME=changeme
set KEY_OU=changeme
set PKCS11_MODULE_PATH=changeme
set PKCS11_PIN=1234
Mine now looks as follows – These values are only defaults that will be pre-populated when using the build scripts, and given that the KEY_CN and KEY_NAME will be unique for each build request, I’ve changed them just for reference notes really – this will be outputted so will act as a note to you (the admin) in future:
set KEY_COUNTRY=GB
set KEY_PROVINCE=Suffolk
set KEY_CITY=Ipswich
set KEY_ORG=ALLN
set KEY_EMAIL=ballen@bobbyallen.me
set KEY_CN=Unique/machine name
set KEY_NAME=Use same as the Common Name!
set KEY_OU=ICT
set PKCS11_MODULE_PATH=changeme
set PKCS11_PIN=1234
For the security paranoid amongst us, you may also look at increasing the value of the KEY_SIZE variable from 1024 to, for example 2048 but this will slow down TLS negotiation performance – your call really!
Next you should save the changes to the file and then using Command Prompt, run the following commands:
cd \
cd "C:\Program Files\OpenVPN\easy-rsa"
vars.bat
clean-all.bat
Generate the CA and Server certificates
Great, now we will build the CA (certificate authority) by running the following command:
build-ca.bat
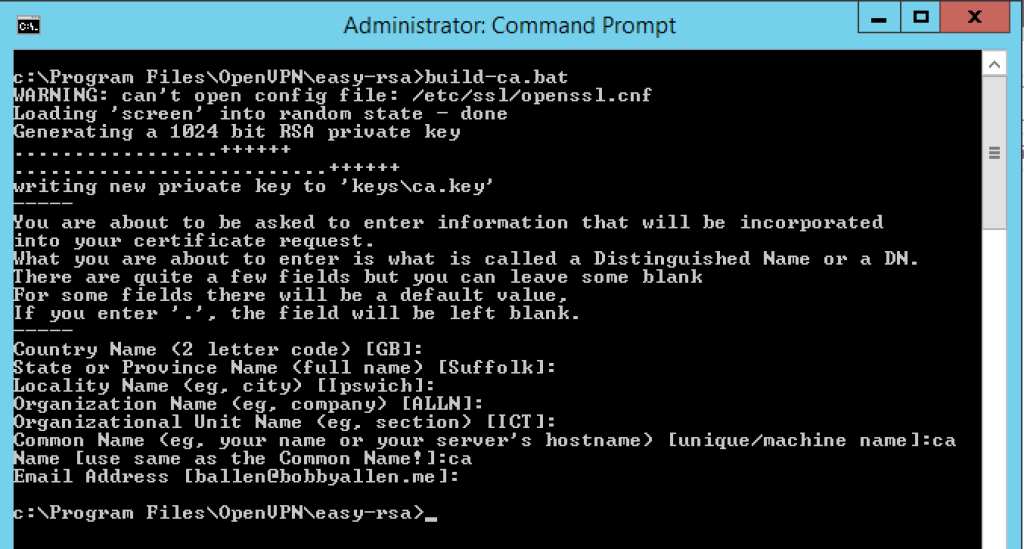
When asked for input, you should be able to accept the defaults (as we set in the vars.bat file earlier but remember, we must specify a KEY_CN (Common Name) and when asked for the Name, it should match the Common Name.
Given that we are creating the Certificate Authority and the standard practice is to call this certificate file ‘ca’, when asked for the Common Name and the Name use ‘ca’ as shown in the screenshot below:
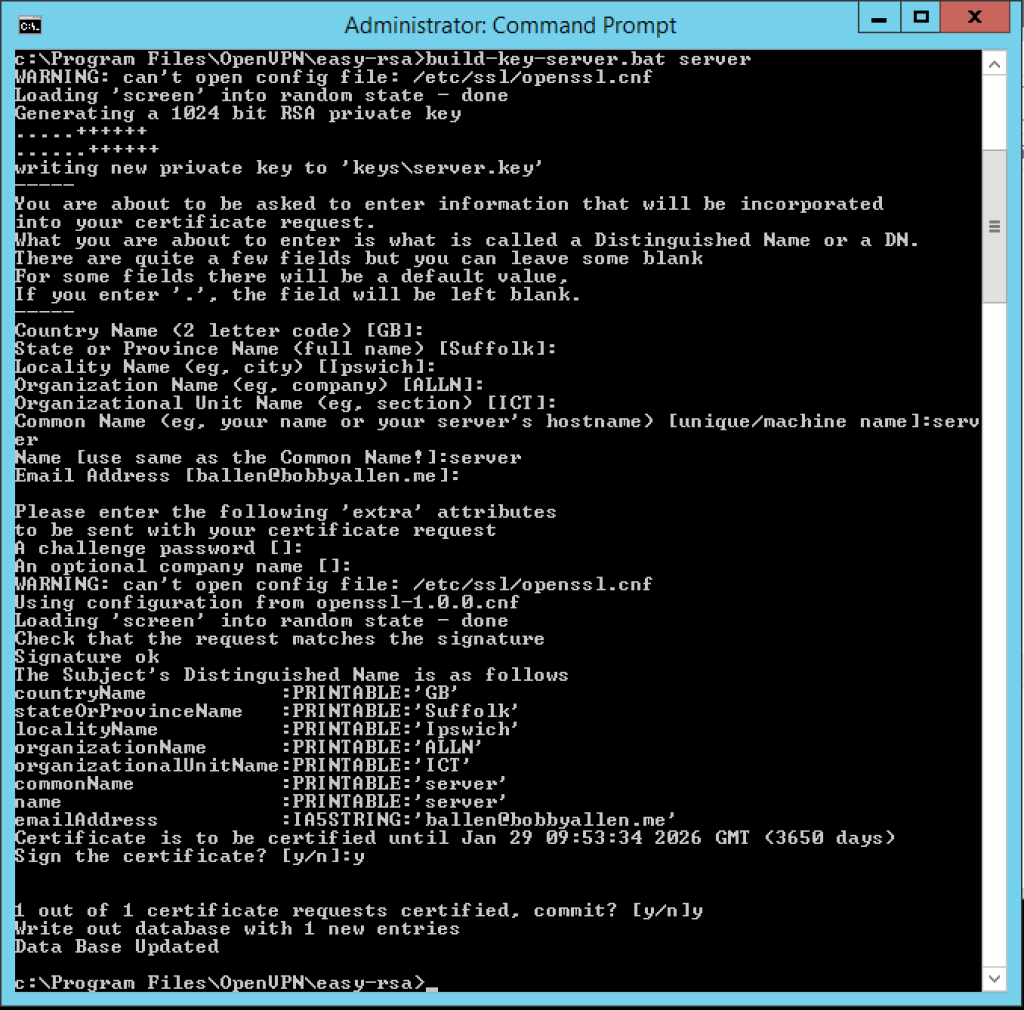
We now need to build the servers’ certificate file and again, we’ll keep it as simple as possible so we will set the “Common Name” for the servers’ certificate file as ‘server‘ and again, the Name will match this (notice that the name is passed in as the first argument on the build-key-server.bat call):
build-key-server.bat server
In addition to the last created ‘ca’ certificate, this time you will be asked if you wish to sign and then commit the certificate (in both instances, as per the screenshot below choose yes (type ‘y’ and press enter for both!):
Building client certificates
For each VPN client that connects to the VPN they will need to connect using an SSL certificate and therefore the following process must be ran for each client device that will connect to the VPN.
As a rule of thumb, you could generate and use an SSL certificate for each user that could be used on multiple machine but there should be a single SSL certificate generated for each device so that in the event that a laptop or other device is lost or stolen, the associated certificate can be revoked from the server to prevent unauthorised access to your network.
So for each new client device, run the following command and then input the requested information:
cd \
cd "C:\Program Files\OpenVPN\easy-rsa"
vars.bat
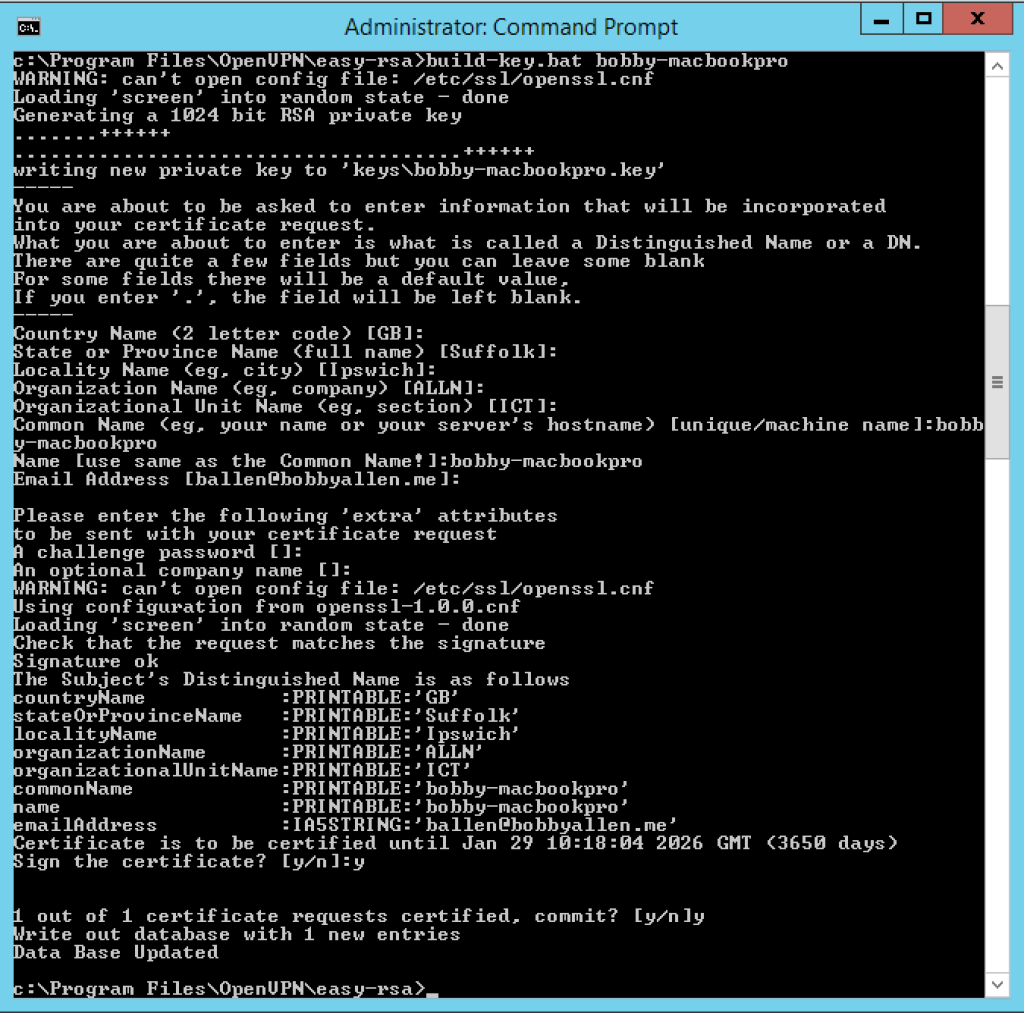
build-key.bat {machine_name}
As before, when prompted for the “Common Name” and the “Name” use the name of the machine, therefore in this instance “bobby-macbookpro” as demonstrated in the example screenshot below:
Generate Diffie Hellman parameters
To complete the set-up of encryption we must now generate the Diffie Hellman parameters, we do this by typing the following command:
build-dh.bat
The output of running the above command should look as follows:-

To learn more about the Diffie Hellman protocol, check the Wikipedia article.
Copy the generated certificates to the “config” directory
When using easy-rsa to generate the certificates they are generated and stored under: C:\Program Files\OpenVPN\easy-rsa\keys, the following files in this directory need to be copied to the C:\Program Files\OpenVPN\config directory:
- ca.crt
- dh1024.pem
- server.crt
- server.key
Once complete, we should start the OpenVPN service in the Services Manager as shown here:
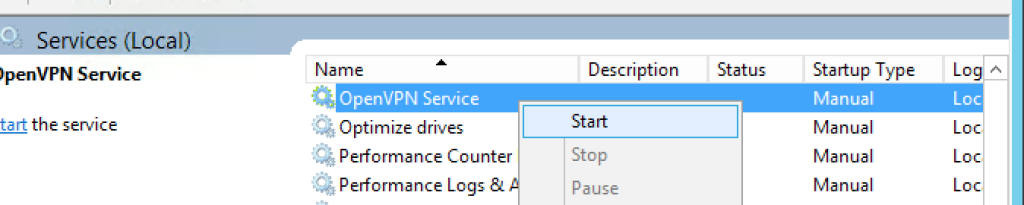
Be aware: By default the OpenVPN service is set to start manually, therefore if your server reboots you will need to manually start this service before VPN clients can re-connect. If you want to set this to ‘Automatic’, right-click the service name, choose properties and then configure the startup as ‘Automatic’.
Configuring OpenVPN server
Now that we have the certificate and CA creation out of the way, we will now configure the OpenVPN server.
Lets copy the sample configuration files to the ‘config’ directory to give us a base to start our configuration on:
copy "C:\Program Files\OpenVPN\sample-config\server.ovpn" "C:\Program Files\OpenVPN\config"
copy "C:\Program Files\OpenVPN\sample-config\client.ovpn" "C:\Program Files\OpenVPN\config"
We can now edit the “cloned” sample configuration files and of which, once fully configured to meet our preference we will then be used in our production environment.
So, using a text editor (for example, NotePad) edit the server.ovpn file:
notepad "C:\Program Files\OpenVPN\config\server.ovpn"
We need to set the location of the certificates that we generated earlier, therefore locate the following block:
# Any X509 key management system can be used.
# OpenVPN can also use a PKCS #12 formatted key file
# (see "pkcs12" directive in man page).
ca ca.crt
cert server.crt
key server.key # This file should be kept secret

# Diffie hellman parameters.
# Generate your own with:
# openssl dhparam -out dh2048.pem 2048
dh dh2048.pem
and replace the paths so they match as shown here:
# Any X509 key management system can be used.
# OpenVPN can also use a PKCS #12 formatted key file
# (see "pkcs12" directive in man page).
ca "C:\\Program Files\\OpenVPN\\config\\ca.crt"
cert "C:\\Program Files\\OpenVPN\\config\\server.crt"
key "C:\\Program Files\\OpenVPN\\config\\server.key" # This file should be kept secret

# Diffie hellman parameters.
# Generate your own with:
# openssl dhparam -out dh2048.pem 2048
dh "C:\\Program Files\\OpenVPN\\config\\dh1024.pem"
Save the file – Lets move on to configuring the Client configuration!
Configure the Client OpenVPN config file
Similar to the server configuration, we just need to edit the client configuration file and set the remote IP/hostname of our OpenVPN server.
The Client OpenVPN configuration file is then used on the client machines to configure the OpenVPN client to connect to the remote VPN server.
Be aware: If you edit this using NotePad on Windows the line endings will be formatted CLRF of which, will cause issues when trying to load it on the Mac, therefore it is recommended that you use a LF aware editor to edit it or convert the file using dos2unix when using it for the first time on your MacOSX/Linux machine.
Lets edit the file and set the remote server address:
notepad "C:\Program Files\OpenVPN\config\client.ovpn"
Locate the following line:
remote my-server-1 1194
and replace it with your public IP address or hostname that your clients will use to connect to your OpenVPN server, for example:
remote vpn.mydomain.com 1194
Save the file and we’re nearly ready to start testing!!
Configuring port forwarding and firewall rule exceptions
We’re nearly ready to start testing but before we do, assuming you have a router/firewall between your server and the internet you will need to first of all open up port 1194/UDP (don’t forget to enable it on the Windows Server 2012 R2 software firewall too if you haven’t already!) and ensure that the traffic is forwarding to your server without this the VPN clients will not be able to connect and use the newly configured VPN service.
From a “best practice” point of view it is advisable to change the default UDP port in your server and client configurations and ensure that the firewall/router is also updated too this makes it harder for hackers to identify which services are running on your server.
Configuring the OpenVPN client (TunnelBlick) on MacOSX
Now that we have the server and network configured we now need to install TunnelBlick on the MacOSX client device.
The installation of TunnelBlick is so simple that I won’t cover it here but once you have it installed lets continue…
First of all we need to create a directory in our home directory to store the client and CA certificates that we will copy from our server shortly.
I would recommend that you create a directory in the root of your home directory called ‘OpenVPN Client Config’, you can do this in the terminal like so:
mkdir ~/OpenVPN\ Client\ Config
Now copy the following file from your Server:
- C:\Program Files\OpenVPN\config\client.ovpn
- C:\Program Files\OpenVPN\easy-rsa\keys\ca.cert
- C:\Program Files\OpenVPN\easy-rsa\keys\bobby-macbookpro.crt
- C:\Program Files\OpenVPN\easy-rsa\keys\bobby-macbookpro.key
Into the new OpenVPN Client Config directory in your home directory like so:

Now we have to make some minor adjustments to he certificate paths in the client.ovpn file so, using a text editor, open the file on your Mac and update the certificate paths to match your environment like so:
# SSL/TLS parms.
# See the server config file for more
# description. It's best to use
# a separate .crt/.key file pair
# for each client. A single ca
# file can be used for all clients.
ca "/Users/ballen/OpenVPN Client Config/OpenVPN Config/ca.crt"
cert "/Users/ballen/OpenVPN Client Config/bobby-macbookpro.crt"
key "/Users/ballen/OpenVPN Client Config/bobby-macbookpro.key"
Save the file and close the text editor, we then need to install our new configuration by double-clicking the client.ovpn icon as shown in the above screenshot.
Double-clicking the icon will prompt as follows, click “Only Me”:

Once the configuration has been added, you’ll get notification of success as shown here:

Connecting to the VPN for the first time
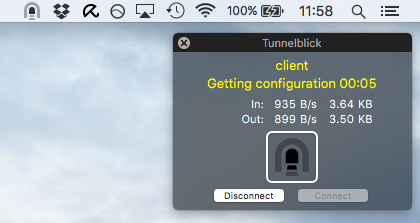
Now that the configuration has been added to TunnelBlick, using the TunnelBlick icon in the top-right hand corner you should now be able to connect to it:
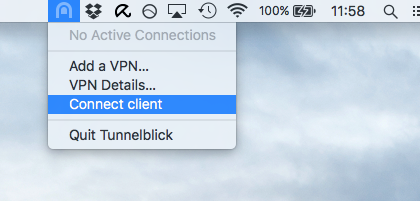
TunnelBlick should now happily connect to the VPN…
Now that you are connected to your VPN, test out by “pinging” the server IP address:
ping 10.8.0.1
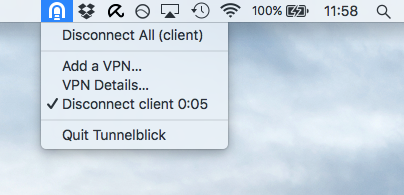
To disconnect from it, simply click the TunnelBlick icon and choose ‘Disconnect client’…
In my next post (otherwise this post will be huge) I will cover the advanced configuration of the server to enable your VPN clients to “see” your internal network and your internal network to “see” your VPN clients this will bidirectional transfer of data eg. accessing network shares on the network and other services provided on the office network.
3 replies on “Setting up OpenVPN Server on Windows 2012 R2”
[…] Setting up OpenVPN Server on Windows 2012 R2 […]
[…] Setting up OpenVPN Server on Windows 2012 R2 […]
[…] Best Open Source 64-bit MS Windows V2Ray Clients 2023 How to Install and Configure OpenVPN Server on Windows? | Windows OS Hub Setting up OpenVPN Server on Windows 2012 R2 – Life in apps, OSs and code! […]