
If you’ve read my other blog posts or seen some of my projects on my GitHub profile, you’ll see that I’m a real Linux fan and although I develop in both PHP and C#, C# based web applications are commonly hosted on the Microsoft Windows platform (although you could use Mono) so for this reason, it has previously made my first choice for developing web applications choosing a technology stack that enabled me to control whether I wanted to host on Windows, Linux, Mac or BSD.
Microsoft not so long ago released .NET Core – .NET Core is open-source and supports cross-platform operating systems.
I wanted to make a blog post about how to configure and host a simple (but functional) C#/ASP.NET MVC application on Ubuntu Linux, ror this tutorial I created a very simple, working but fictional URL shortner service. I’ve built this using ASP.NET Core 5 and Entity Framework 6. Source code available here.
In this tutorial we will use the latest stable version of Nginx (from the Nginx PPA) of which will be configured to reverse proxy requests to our application server which will be running Kestrel. systemd will be used for starting our application server and monitoring the process.
This tutorial assumes that you already have a user account setup and has been granted sudo rights. My virtual machine is configured with 2GB of RAM.
Download the source code
First up, we’ll download (clone) the C# source code to our user home directory from my public GitHub repository. Using the Git CLI tool we can download as follows:
mkdir ~/source
cd ~/source
git clone https://github.com/allebb/lk2.git
That’s great, we now have the public repository downloaded to our user home directory under a folder name ‘source’.
Further on in this tutorial we will “publish” our application from this directory to our web hosting directory which will then be used to serve the application.
Setup Nginx
We will now add the official Nginx package repository to our server as this will enable us to then download the required packages from the Nginx package repository.
So using vim, we will create a new file under /etc/apt/sources.list.d/ named nginx.list like so:
sudo vi /etc/apt/sources.list.d/nginx.list
The file content should be as follows:
deb http://nginx.org/packages/ubuntu/ xenial nginx
deb-src http://nginx.org/packages/ubuntu/ xenial nginx
Once done, save the file and we now need to update our package sources like so:
sudo apt-get update
If you get an error when running the update command (as per my screenshot below) you will need to import the key first (eg. sudo apt-key adv –keyserver keyserver.ubuntu.com –recv-keys ABF5BD827BD9BF62
) and then re-run the apt-get update command (the key can be found in the error message!!) like so:

Great! We can now get on with installing Nginx:
sudo apt-get install nginx
We can now start Nginx by running:
sudo systemctl start nginx
To test it’s all working as expected, enter the IP or FQDN into a browser to test that you are presented with the Nginx “welcome” page like so:

Install Microsoft .NET Core
We can install .NET Core on our Ubuntu server by running the following commands (taken from the official Microsoft page):
sudo sh -c 'echo "deb [arch=amd64] https://apt-mo.trafficmanager.net/repos/dotnet-release/ xenial main" > /etc/apt/sources.list.d/dotnetdev.list'
sudo apt-key adv --keyserver hkp://keyserver.ubuntu.com:80 --recv-keys 417A0893
sudo apt-get update
sudo apt-get install dotnet-dev-1.0.1
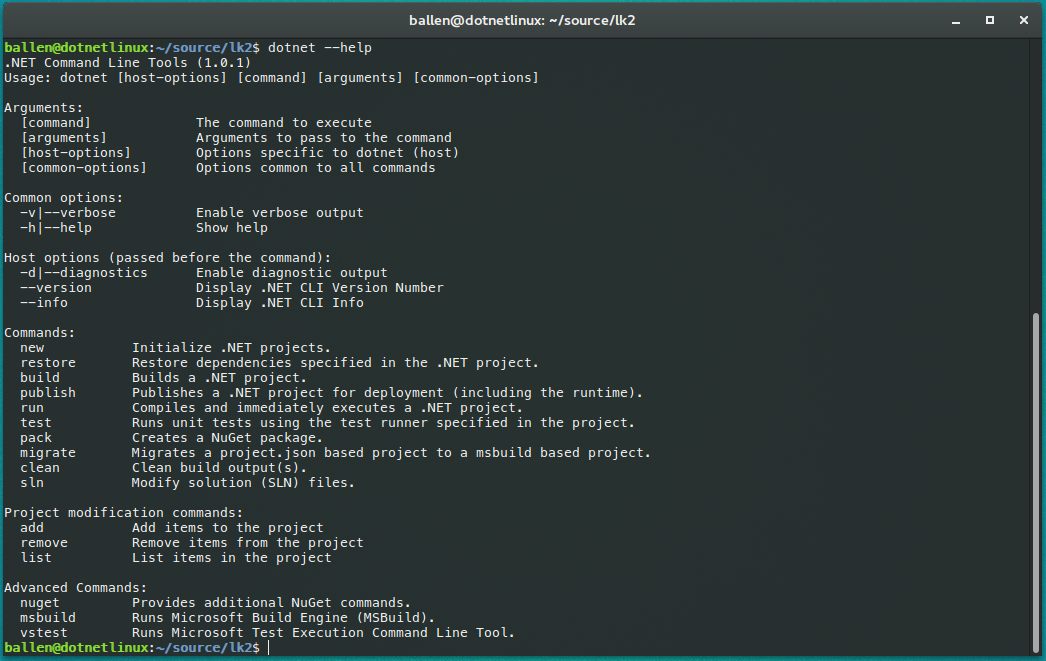
We can now test that we have it installed by running:
dotnet --help
All going well, you should see the following output:
Lets move…
Setup a hosting location for your web application
We need somewhere on our server to deploy to and store our production published web application this could be in a dedicated user’s home directory (and make the service run as that user) but for this example we will just store is under /var/webapps/. Let’s create that directory now…
sudo mkdir /var/webapps
Great!
Deploy (publish) our web application
Although we’ve downloaded the source code for our application, we need to “publish” it, Publishing a .NET Core application essentially bundles all the required run-time libraries (in the form of DLL’s) and copies across our appsettings.json file as well as any public assets.
Our source code contains our application code but also makes references to external libraries, I’ve used NuGet to manage these dependencies.
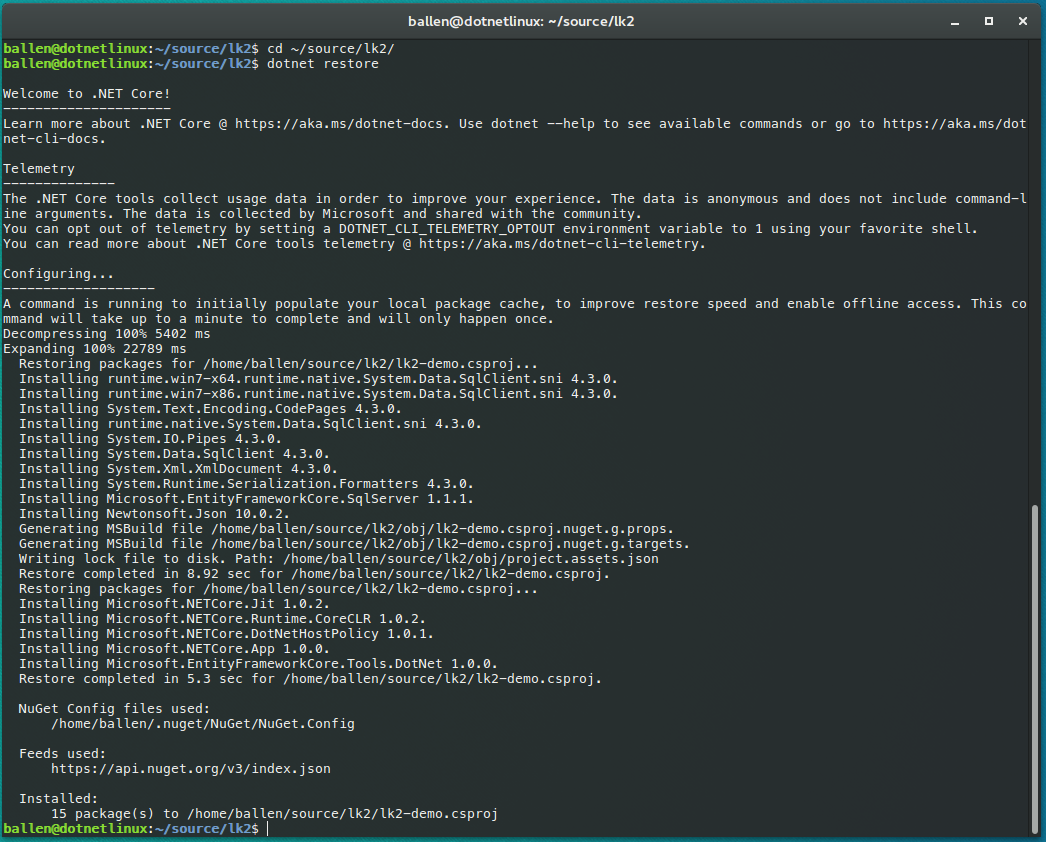
We’ll now change into our application’s root directory which will then able us to pull in/download all the required NuGet packages, lets do that now…
cd ~/source/lk2
dotnet restore
This will take a few minutes to complete but once done you should see the following output:
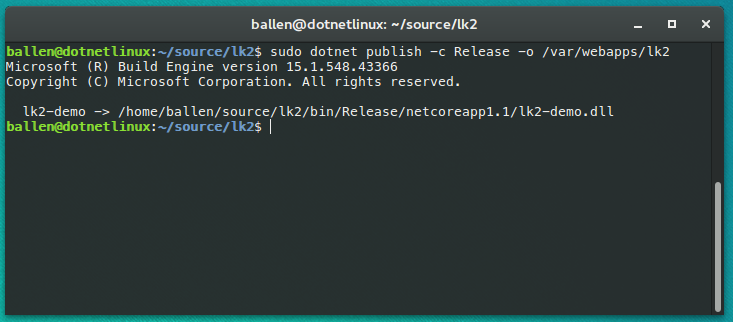
Now that’s completed we can now “publish” our application, this effectively compiles our code and bundles all the required dependencies to a specific directory:
sudo dotnet publish -c Release -o /var/webapps/lk2
The above command states that we want to build our project for “Production” and we have specified the output path as /var/webapps/lk2.
You should see the following output:
We then need to set the permissions so that the user that our service is running under (by default this will be www-data in this example) can have the required access rights, we do this by running:
sudo chown -R www-data:www-data /var/webapps/lk2
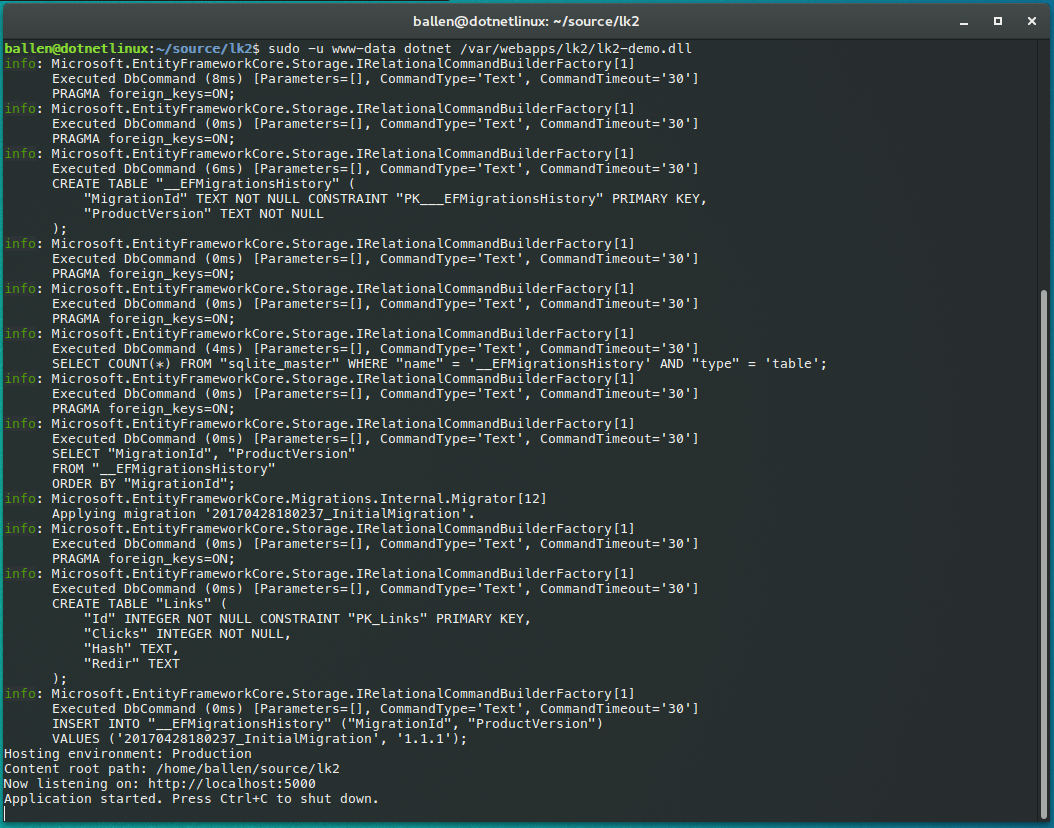
Lets see if we can now run the server in this directory as the www-data user…
sudo -u www-data dotnet /var/webapps/lk2/lk2-demo.dll
I have enabled “auto migrations” at startup – Although not recommended for production environments, I wanted to ensure that the user following this tutorial can get up and running as quickly as possible and after all, this tutorial is really to prove the ability to host ASP.NET Core web applications on Linux…
Running the above command you will see the following output, as you can see our Entity Framework database migrations have been run automatically for us (and we now have a SQLite database that has been created under /var/webapps/lk2).
You could also use Microsoft SQL Server if you wanted, you’d simply need to edit the appsettings.json file found in /var/webapps/lk2 and change the driver to mssql and set the corresponding connection string. You could also check out my recent blog post about installing and use Microsoft SQL Server on Linux.
Lets now kill the local Kestrel process by pressing CTRL+C on our keyboard and we’ll move on…
Create our systemd file
So in order for us to control our web application service (and have it start automatically) we will use vim to create a daemon (service) init script, using Vim we can run:
sudo vi /etc/systemd/system/lk2.service
Now copy the following content into it (making any path and environment variable changes you require for you application or environment):
[Unit]
 Description=LK2 .NET Core App

 [Service]
 WorkingDirectory=/var/webapps/lk2
 ExecStart=/usr/bin/dotnet /var/webapps/lk2/lk2-demo.dll
 Restart=always
 RestartSec=10
 SyslogIdentifier=dotnet-lk2
 User=www-data
 Environment=ASPNETCORE_ENVIRONMENT=Production

 [Install]
 WantedBy=multi-user.target
Great, now save the file!
We can now “enable” the service (making it auto-start at boot time) by running:
sudo systemctl enable lk2.service
Now we can manually start it:
sudo systemctl start lk2.service
If you wanted to check the service status you can run:
sudo systemctl status lk2.service
Checking the status of the service at this point should output the following:
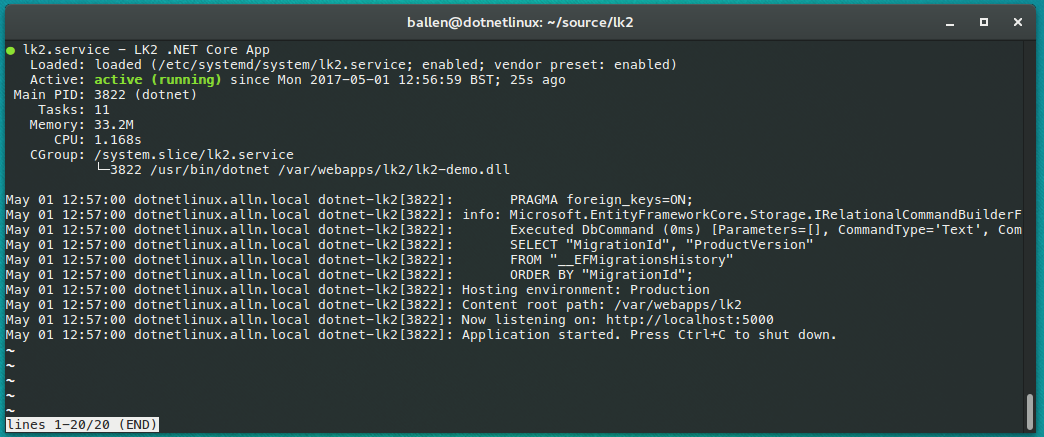
Good stuff – lets’ move on…
Configuring Nginx
I appreciate that we’re jumping around a bit here but now that you have the daemon configured and your application deployed and running we will now head back to Nginx and configure it to reverse-proxy requests to Kestral (running locally on port 5000)…
In this example I will show you the simplest way to reverse-proxy traffic to your application – In another blog post I will elaborate on this further with Nginx virtualhost configurations in addition to securing your application with HTTPS and setting some security headers too but for now we’ll simply prove this works…
Lets open the Nginx configuration:
sudo vi /etc/nginx/conf.d/default.conf
Now then replace the contents of the file with:
server {
 listen 80;
 location / {
 proxy_pass http://localhost:5000;
 proxy_http_version 1.1;
 proxy_set_header Upgrade $http_upgrade;
 proxy_set_header Connection keep-alive;
 proxy_set_header Host $host;
 proxy_cache_bypass $http_upgrade;
 }
}
Next we will create a proxy configuration file so that we can re-use in other virtual host configurations in future, create the new file like so:
sudo vi /etc/nginx/proxy.conf
Populate it with the following content:
proxy_redirect off;
proxy_set_header Host $host;
proxy_set_header X-Real-IP $remote_addr;
proxy_set_header X-Forwarded-For $proxy_add_x_forwarded_for;
proxy_set_header X-Forwarded-Proto $scheme;
client_max_body_size 10m;
client_body_buffer_size 128k;
proxy_connect_timeout 90;
proxy_send_timeout 90;
proxy_read_timeout 90;
proxy_buffers 32 4k;
In order for these settings to be picked up by Nginx we must now include them into our main Nginx configuration file, to do this lets edit the file:
sudo vi /etc/nginx/nginx.conf
So, below the ‘http {‘ line, add ‘include /etc/nginx/proxy.conf;‘ as shown here:

Save the changes and quickly test that we’re still all good:-
sudo nginx -t
Now save the file and then we’ll reload the Nginx configuration like so (alternatively you could use sudo nginx -s reload which essentially does the same thing!):
sudo systemctl reload nginx.service
If all went well you should be able to access the web application by entering your server’s IP or FQDN in a browser and you should then see your application’s homepage like so:

Deploying code changes
In future, when you have made source changes you would need to commit those to Git, then change into the source code directory (cd ~/source/lk2), pull the latest changes (git pull) and the re-run the publish command. Once the latest source has been built you would then need to restart the application service by running (sudo systemctl reload lk2.service).
We’re done!
I hope you found this tutorial useful – If there is anything specific you want me to write about/elaborate on this post please drop me an email 🙂
2 replies on “Deploying and hosting ASP.NET Core applications on Ubuntu Linux”
[…] Always when I wanted to deploy asp.net mvc/razor app on ubuntu server, i was using this tutorial http://blog.bobbyallen.me/2017/05/01/deploying-and-hosting-asp-net-core-applications-on-ubuntu-linux… But now I got first blazor project and I cant deploy it this way, instead of one project, it has 3, […]
[…] blog.bobbyallen.me post […]