
A few days ago I blogged about setting up my own privately hosted, open-source alternative to Microsoft Teams/Slack/Discord, which got me thinking and thought I’d look for an alternative to the other features that Office365 offers and post up my findings.
I stumbled across ONLYOFFICE, I proceeded to download the desktop client for MacOS and had a play with it – What is amazing about ONLYOFFICE specifically (over the likes of LibreOffice and OpenOffice) is that it is specifically designed to support the major Microsoft Office formats (.doc, .docx, .xls, xlsx, .ppt, pptx) which is fantastic and should therefore provide a fully compatible alternative to Microsoft Office.
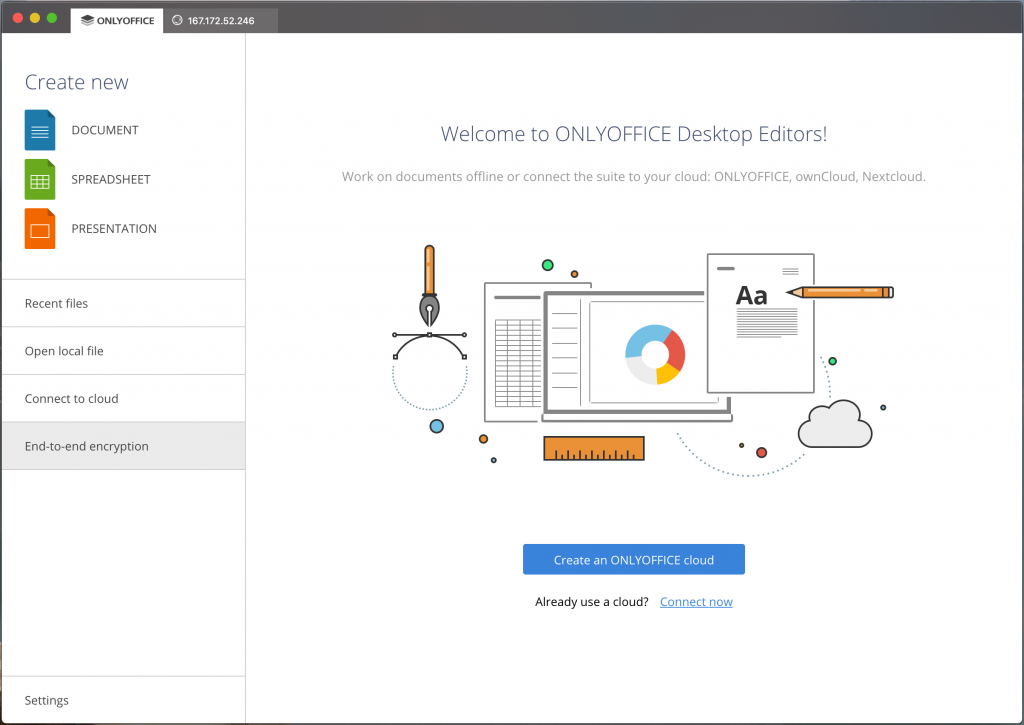
The desktop client provides a word processor, spreadsheet and presentation tools essentially giving you direct replacements for Word, Excel and Powerpoint for free! Did I mention that the interface looks very smart a clean too (and very similar to the Office suite)…
A fully fledged Office365 alternative
What I was really looking for though, was a web suite providing the functionality of Office365 and ONLYOFFICE provides this too! I will be installing the Community Server which essentially gives you a replacement for many of the features that are offered in Office365 these features include:
- Online editors for text documents, spreadsheets and presentations. You can create, edit and collaborate on documents 100% compatible with MS Office and other popular formats in a familiar tabbed interface. (think Office 365)
- People
- Projects
- CRM (think Dynamics)
- Documents (think SharePoint)
- Community Forums (think SharePoint)
- Mail client (think Exchange Online)
- Calendar (think Exchange Online)
- Chat client (think Skype for Business)
- Mail server (think Exchange Server)
Wow – That seriously is a great list of features providing a replacement for Office365!
Provisioning our server
Let’s get on and get this installed!
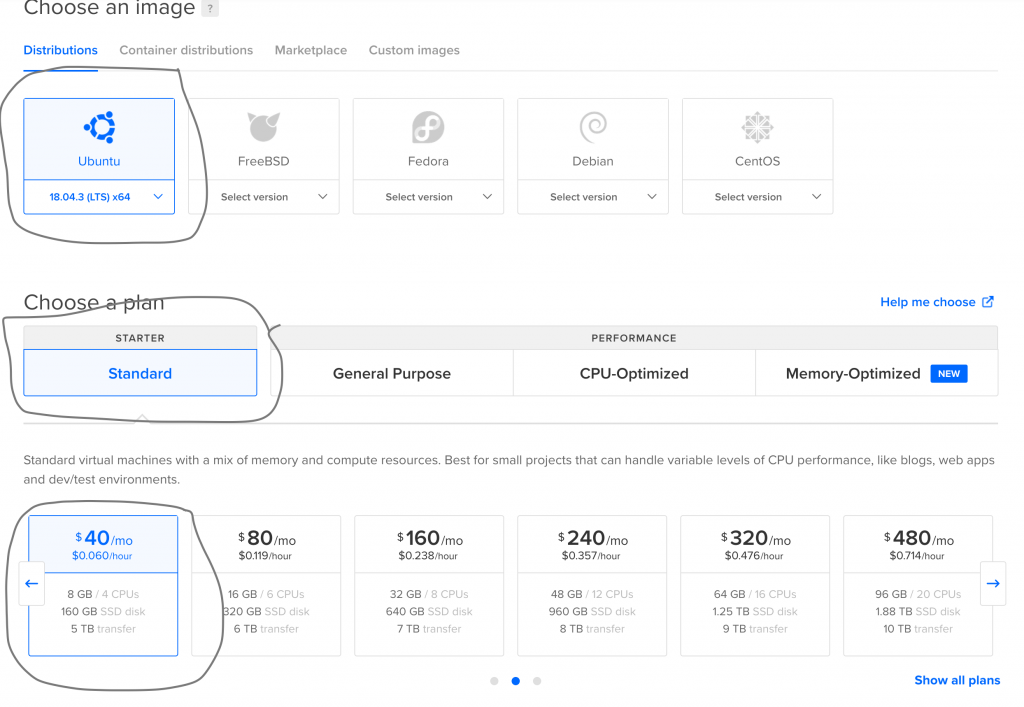
Much like my post a few days ago, we will create a virtual server on DigitalOcean, given all of the functionality provided by ONLYOFFICE Community Server our VM must have a minimum of 6GB of RAM – I will a Ubuntu 18.04 VM and the 8GB 4vCPU VM configuration as follows:
Installing ONLYOFFICE Community Server
Once your server is provisioned, we’ll need to SSH into it, we can do this like so:
ssh root@{your-server-ip-address}
As we’re working with a fresh server, we’ll make sure that we have all the latest software updates by running the following commands:
sudo apt-get update -y
sudo apt-get upgrade -y
Configuring SWAP space
We now need to expand our SWAP space (if you’re from the Microsoft Windows world, this is basically Virtual Page Allocation) as according to the ONLYOFFICE documentation, we must provision atleast 6GB of SWAP space, I will however increase this to 10GB for good measure…
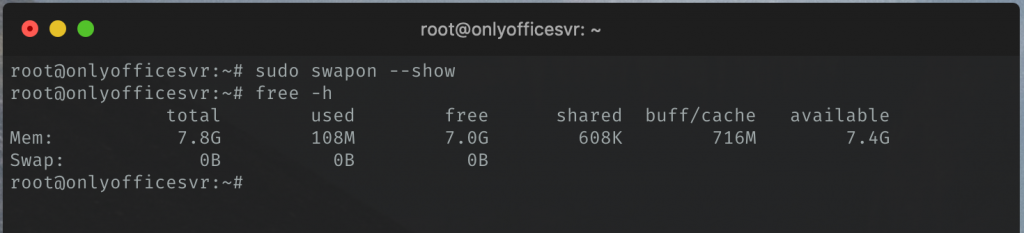
First, we’ll check to see if we already have SWAP space enabled/allocated on our VM, we can do this by running:
sudo swapon --show
Assuming that you have used DigitalOcean too, you will probably not get an output from running that command as by default our DigitalOcean image hasn’t allocated any SWAP space, that’s fine and we will confirm next by running:
free -h
The output of this command should be as follows:
Great stuff, let’s now allocate the SWAP space…
sudo fallocate -l 10G /swapfile
We now verify that it has been created by running:
ls -lh /swapfile
The output should be as follows:
-rw-r--r-- 1 root root 10G Feb 10 18:15 /swapfile
We now need to lock down the file permissions and enable it but running these commands:
sudo chmod 600 /swapfile
sudo mkswap /swapfile
sudo swapon /swapfile
We can confirm this has been enabled by checking the output of:
sudo swapon --show
It should now display 10GB as the size:

So although these settings have been made they currently won’t persist once we reboot our server and we therefore need to edit our /etc/fstab file like so:
sudo vi /etc/fstab
We need to add the following line to the bottom of the file:
/swapfile none swap sw 0 0
Our file should now look as follows:

Save the file and reboot our server with the following command:
sudo reboot
Let’s now move on….
Installing Docker
Although the installer script for ONLYOFFICE will prompt if you want to use Docker or the DEB format for insatllation, for this tutorial we’ll use Docker as it is the recommended installation type and also bundles the Mail Server component too otherwise we’d need to install this manually.
First we will install some dependencies:
sudo apt install apt-transport-https ca-certificates curl gnupg-agent software-properties-common
We can install Docker on our virtual machine like so:
curl -fsSL https://download.docker.com/linux/ubuntu/gpg | sudo apt-key add -
sudo add-apt-repository "deb [arch=amd64] https://download.docker.com/linux/ubuntu $(lsb_release -cs) stable"
sudo apt update
We can now install Docker with this command:
sudo apt install docker-ce
It’s up to you but it might be best at this point to “hold” automatic Docker updates like so:
sudo apt-mark hold docker-ce
Then we’ll check the current status of Docker, it should be running:
sudo systemctl status docker
We should now be ready to start the installation process of ONLYOFFICE Community Server now.
If you plan and what to interact with the Docker engine from a non-root user, you should add them to the docker group using this command: sudo usermod -aG docker {your-username}.
Setting up DNS
The ONLYOFFICE Server installation (if you intend on setting it up as mail server) performs a DNS lookup to ensure that your mail domain is pointing to your server.
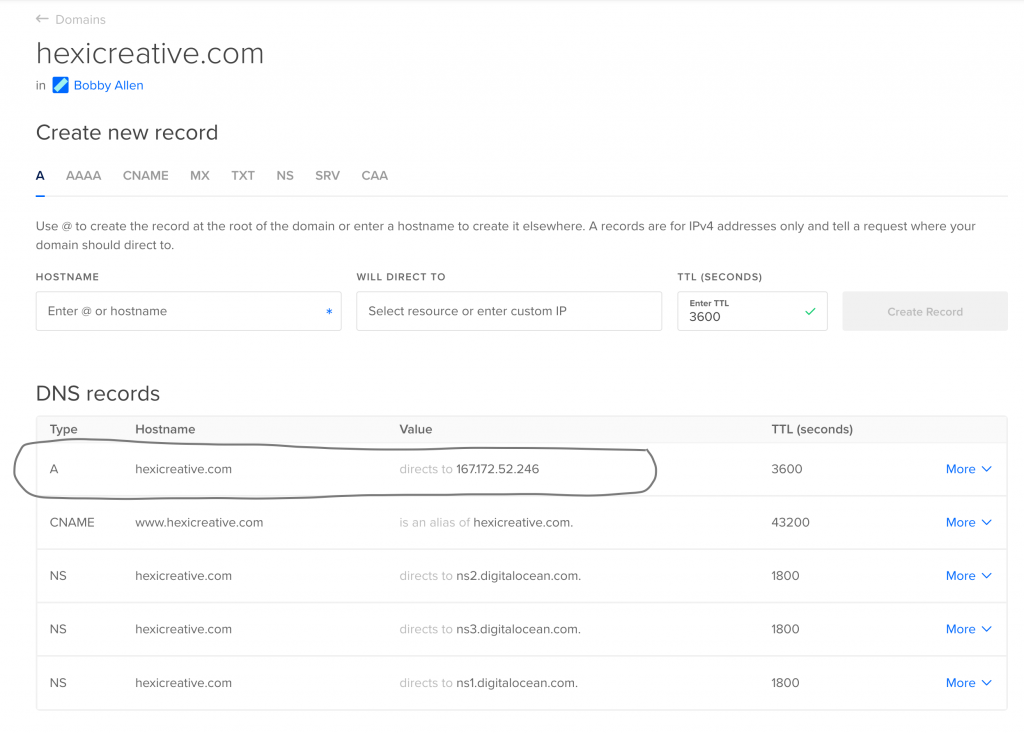
In order to pass these tests we must add an A record to our DNS and have it resolve to our virtual server’s IP address.
We can easily do this using DigitalOcean’s Networking section, here is my example (I’m using hexicreative.com in this example – notice that the A record is pointing to my server’s IP address – 167.172.52.246)
Please configure your DNS and test your that your domain resolves to your server before you move on…
Installing our ONLYOFFICE server
Now that we have Docker installed and running we can now run the official installer scripts from ONLYOFFICE.
Let’s download the Community (opensource) installation script by running:
wget http://download.onlyoffice.com/install/opensource-install.sh
We can now run the installer (I will be using a spare domain that I have registered, you should replace hexicreative.com with your own domain name) …
sudo bash opensource-install.sh -md "hexicreative.com"
If you do not want to configure a mail server, you should instead run the installer with this command instead:
sudo bash opensource-install.sh -ims false
When asked Install with Docker [Y/N/C]? press Y and then ENTER.
The four docker containers will now download (Document Server, Mail Server, Community Server and a MySQL database container), depending on the speed of your server’s connection to the internet this could take several minutes.
Once installation is completed you should see a message as follows:
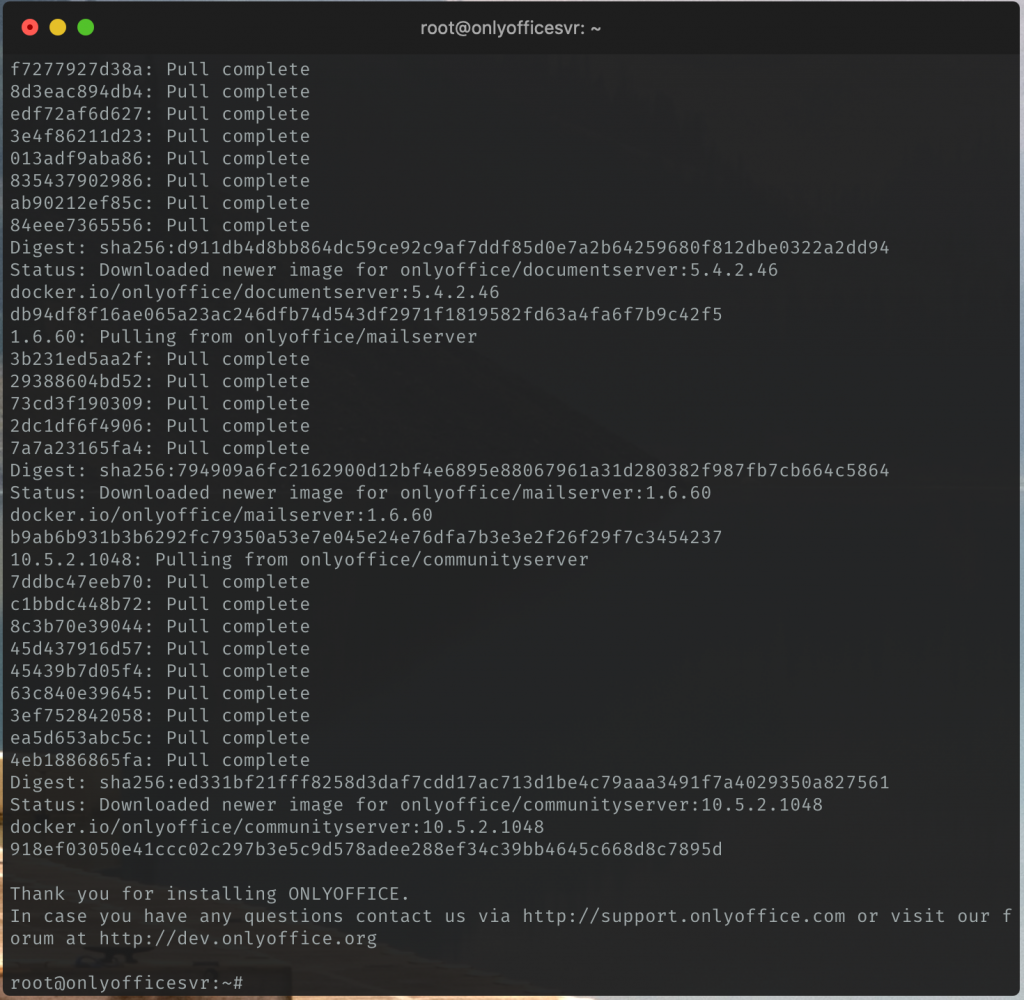
That’s it, the installation is complete!
At this point, I would recommend a reboot of the server to ensure that the containers automatically start at system boot.
sudo reboot
Once the server has rebooted we’ll test out our access to our new ONLYOFFICE Community Server.
Accessing the portal for the first time
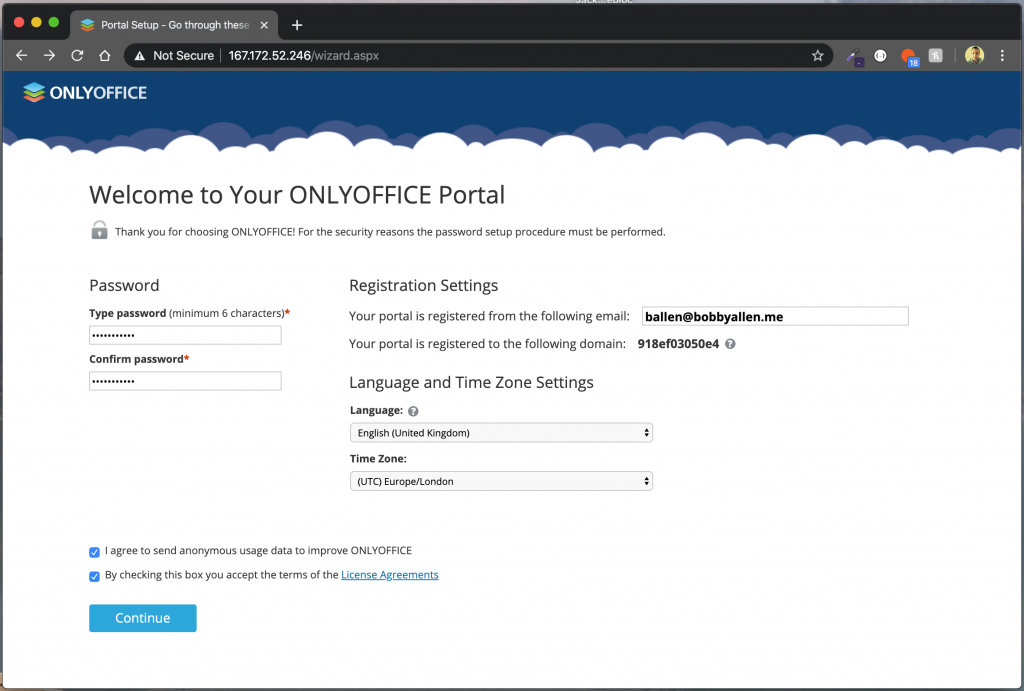
Using your web browser, access your ONLYOFFICE portal using your server’s IP address (the FQDN will not work at this point so you MUST use the IP address!) like so:
http://{your-ip-address}
You should now be greeted with the following screen, you should complete the sections as per my example below:
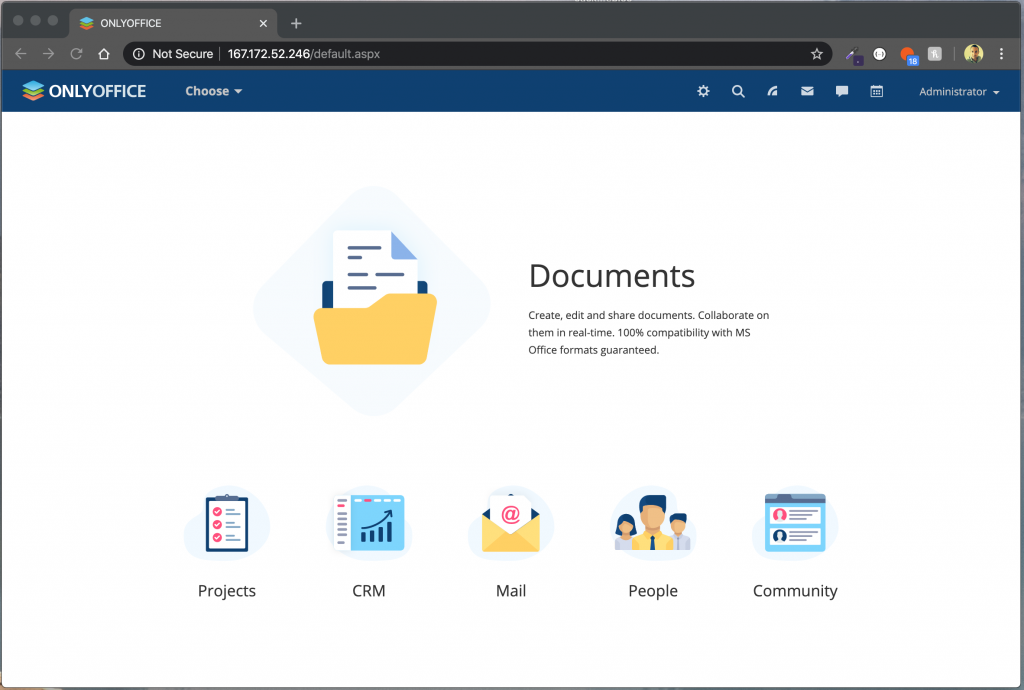
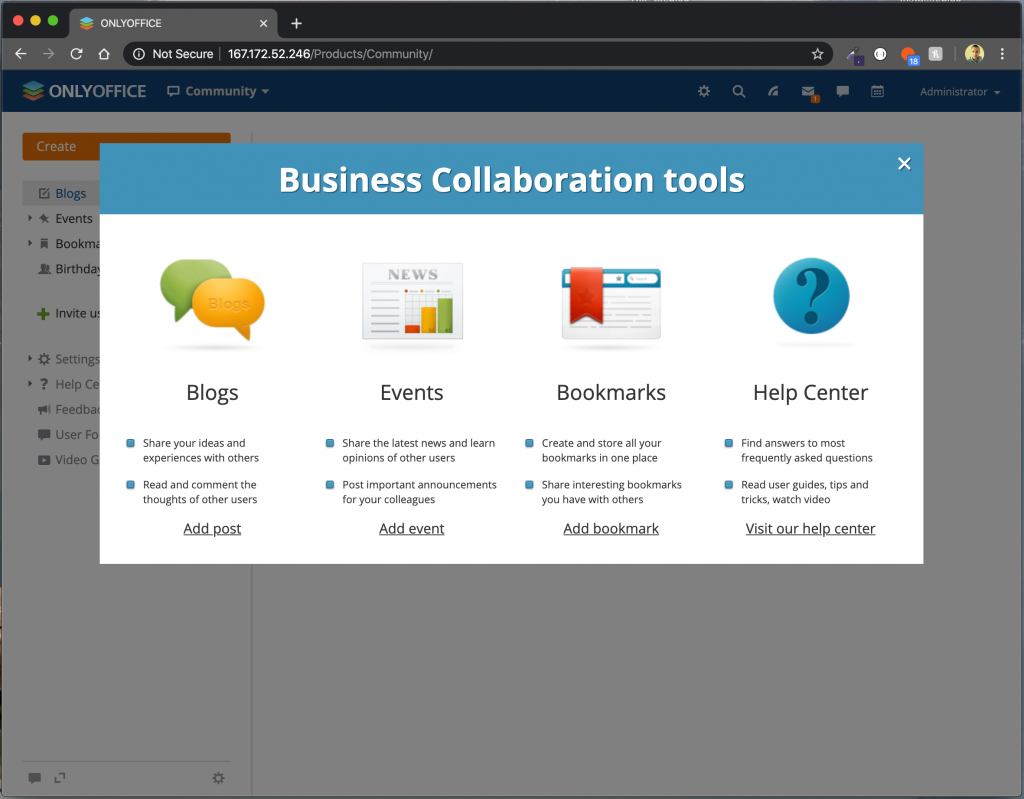
Once submitted you should then be taken to your portal dashboard and will look as follows:
Next we will add a custom DNS entry for our ONLYOFFICE installation, although you could use anything such as ‘intranet.yourdomain.com‘, ‘portal.yourdomain.com‘, ‘office.yourdomain.com‘, I thought it would be fitting to use open365.hexicreative.com for mine.
To do this we need to navigate to the settings section, using the gear icon in the navigation header.
Now enable and change the setting as follows:
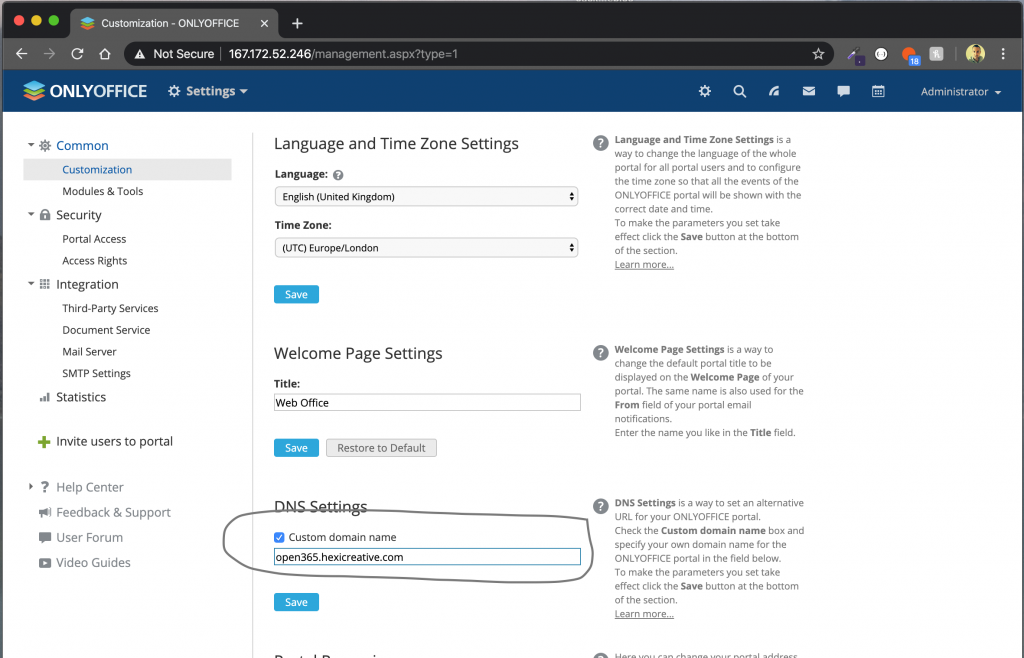
Be sure to add this record to your public DNS and ensure that it is pointing to your server.
At this point I would recommend you have a good look around with all the settings and customisations that are available to you in the the portal settings.
There are so many awesome features and security settings that I have come across but I cannot cover everything in a single blog post.
The other thing that I recommend you do is to configure your email domain, this process walks you through the steps of adding DNS records for your domain such as MX, SPF and DKIM. To do this, you should use the Setup domain and when asked, choose Setup domain as shown here:
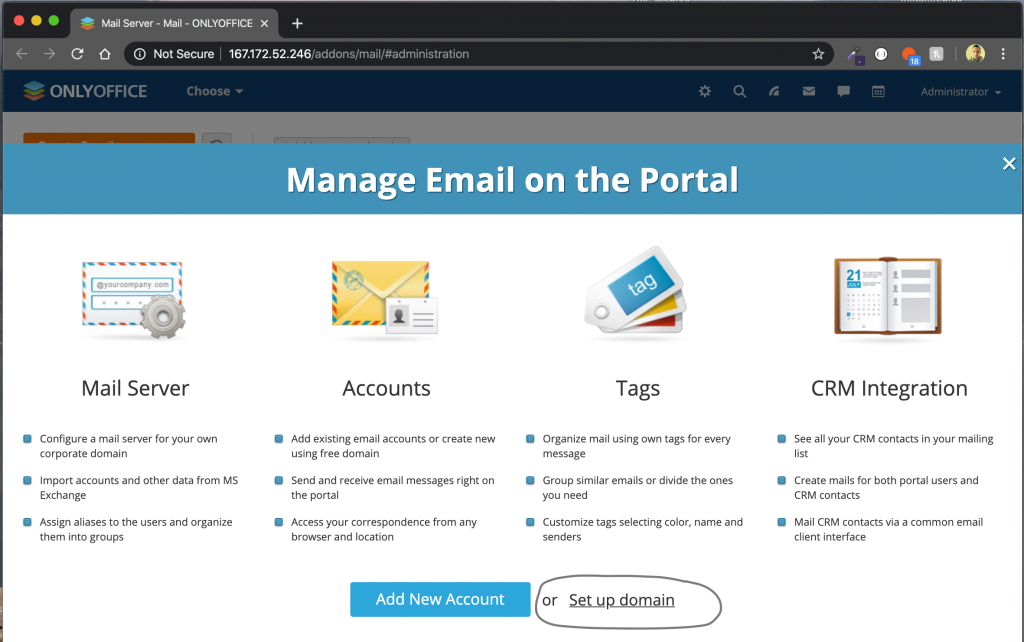
Once setup and you’ve added user mailboxes you will be able to send and recieve emails.
Well that’s all I really have time to cover in this tutorial but I hope this has helped you.
There is a ton of documentation over at the ONLYOFFICE website which will help you get your server configured just the way you want it.
In the mean time, I’ll share some screenshots below 🙂
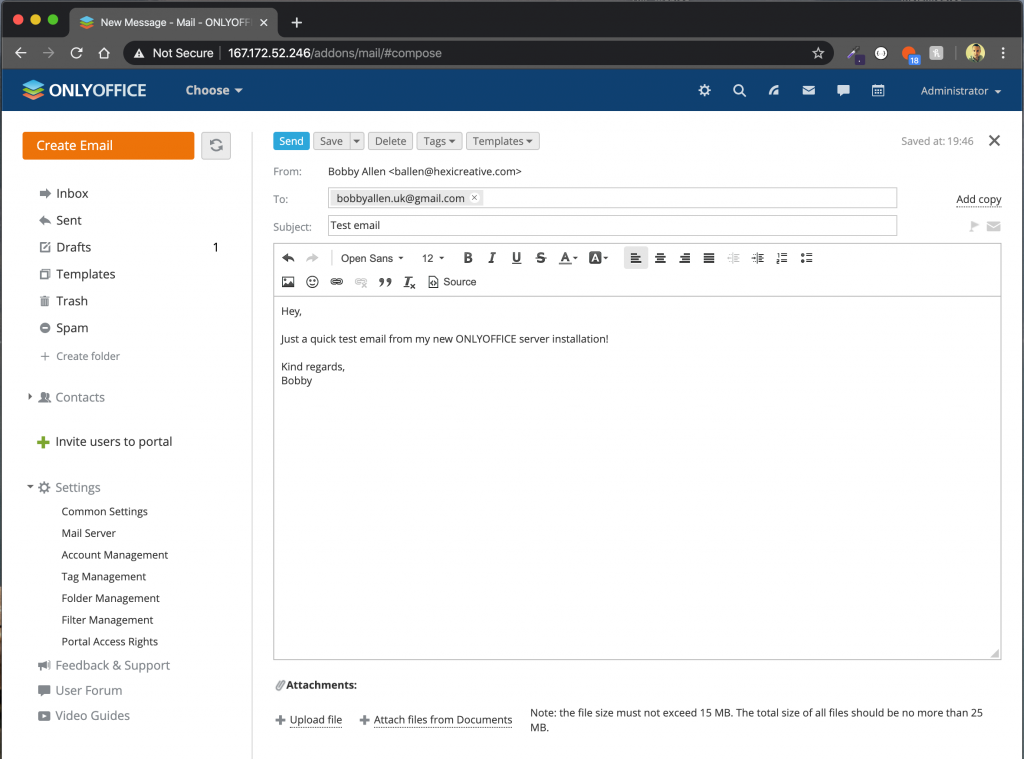

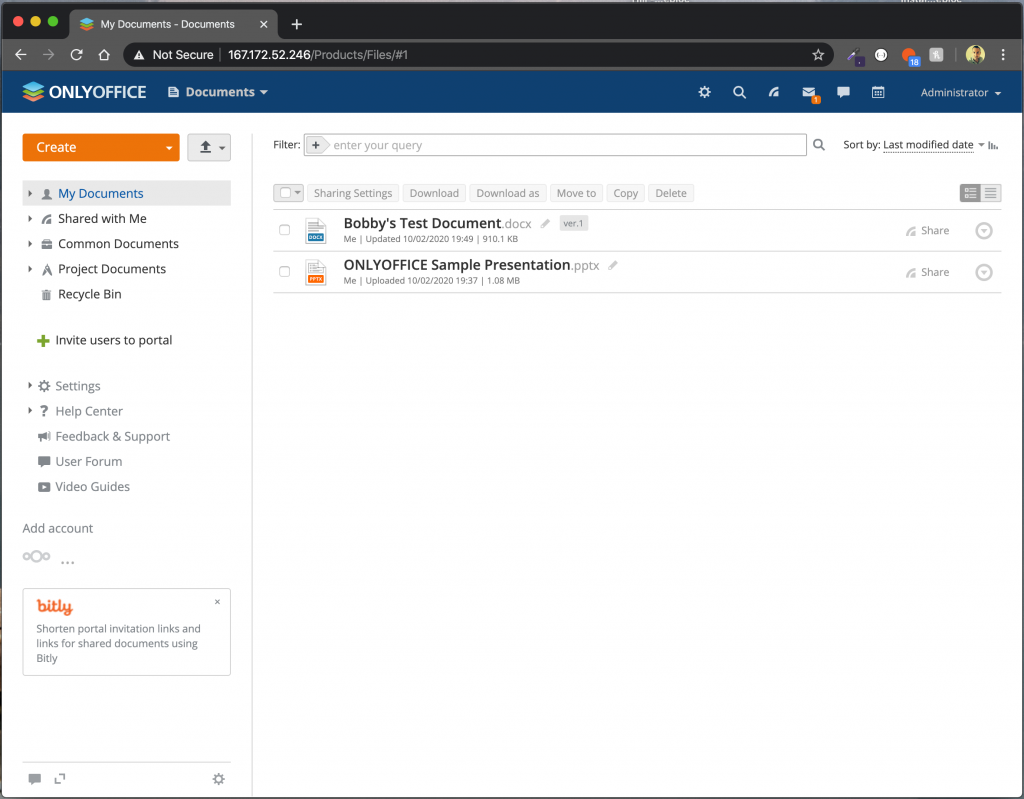
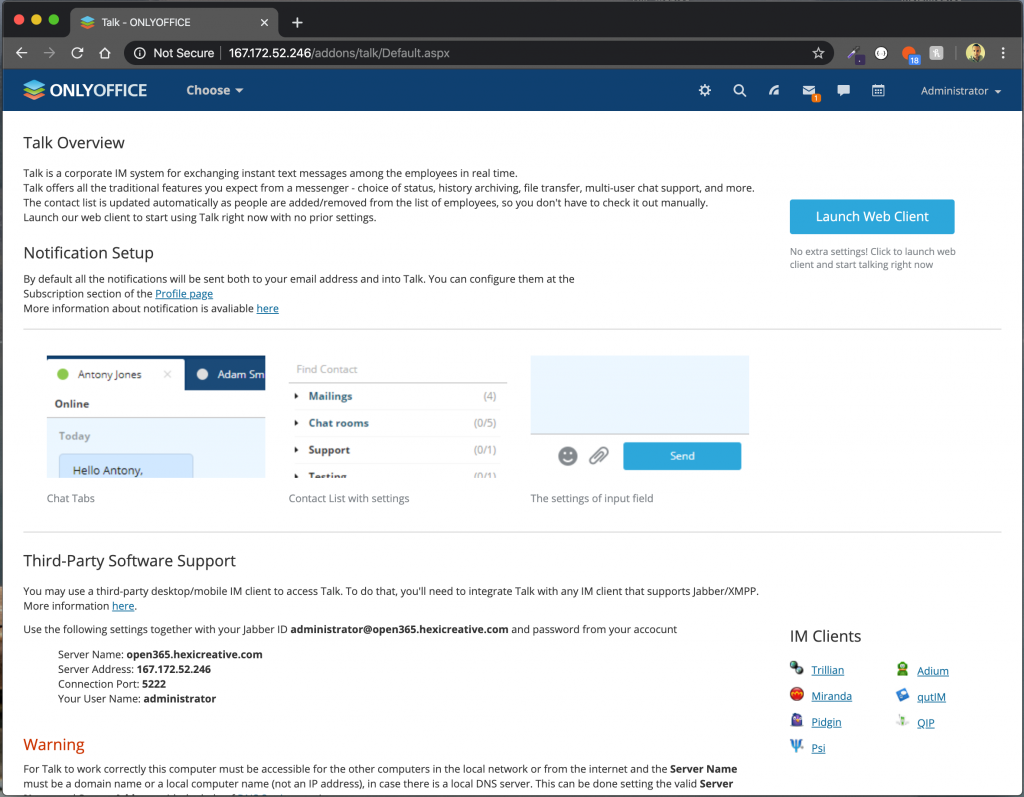


I could keep screenshoting for several hours but I think you get the picture… This really is worth an install and test-drive if you’re looking for an Office365 replacement maybe at home or as a small business owner.