Installing Ruby (the latest version) and Rails (using RVM) on MacOSX is rather easy, this quick post will run you through installing Ruby and Rails using RVM (Ruby Version Manager) which apparently what all the ‘cool kids’ use to install rails with etc. By following these few simple steps and you should be up and running in no time 🙂
For your infomation, I’m doing this on my MacBook Pro (Mid 2012, i7, 8GB RAM model) running Apple OSX Moutain Lion. (10.8)
Firstly you’ll more than likely find that your Apple computer already has Ruby installed, from you terminal you can type the following:
ruby -v
That will then show that the version of Ruby installed is probably something like 1.8.7, we are now going to install RVM so lets do this now..
sudo curl -L https://get.rvm.io | bash -s stable --ruby
You may get a few errors but simply ignore them, and lets continue… Now you need to restart the terminal, next we type:-
rvm
That should then prove that RVM is installed – unless of-course it you get an error and in which case something obviously went wrong 🙁
Next, at the command prompt type:-
rvm list known
That should then list a whole load of versions..
First of all you’ll need to download GCC from here: https://github.com/kennethreitz/osx-gcc-installer (or from the downloads page) – XCode 4.2 no longer ships with GCC by default meaning without it we cannot build the latest version of Ruby!
Once you’ve downloaded the .pkg and installed it for your OS version, lets continue to now update the version of Ruby that is installed on your Mac…
rvm install 1.9.3
All going well you should see something like so:-
Now we need to set the new version of Ruby as the ‘default’ so that in future, typing ruby -v will display the latest version and not the older version that is shipped with OSX.
So we simply type in the terminal the following:-
rvm --default use 1.9.3
Now we can test if we are now using 1.9.3 by default by typing the following command in the terminal – this should then display 1.9.3 as the version we are using!
ruby -v
Lets now install Rails, you can do this by running:-
gem install rails
That will take a few minutes but afterwards you will have rails installed on your Mac 🙂 – Happy days!
Now that you have rails installed you can now create a new Ruby on Rails application by running the following command:-
rails new ~/Code/RubyTestApp
Then you can start the built in Rails application server and view your project like so:-
cd ~/Code/RubyTestApp
rails server
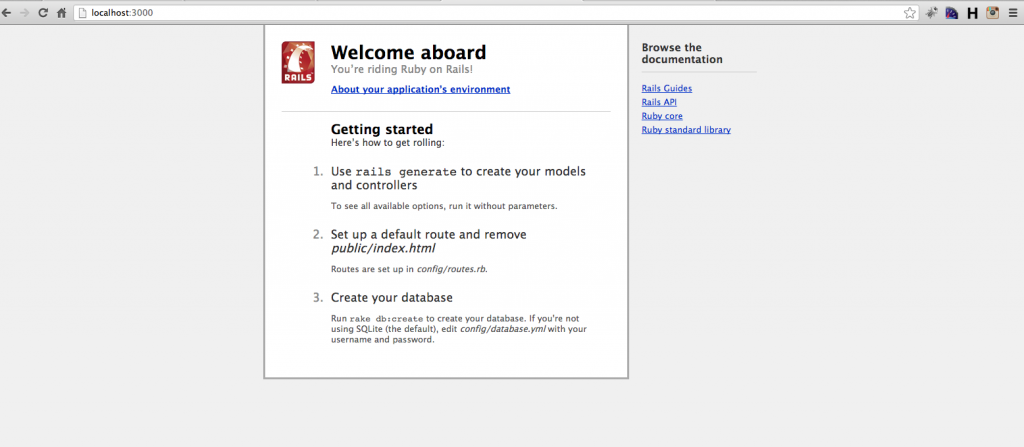
Then open a web-browser and browse to: http://localhost:3000/ you should then see the default Ruby application landing page like so:-
…go on, go play with Ruby and Rails!
For new comers to the language check out the awesome tutorials over at CodeSchool!


